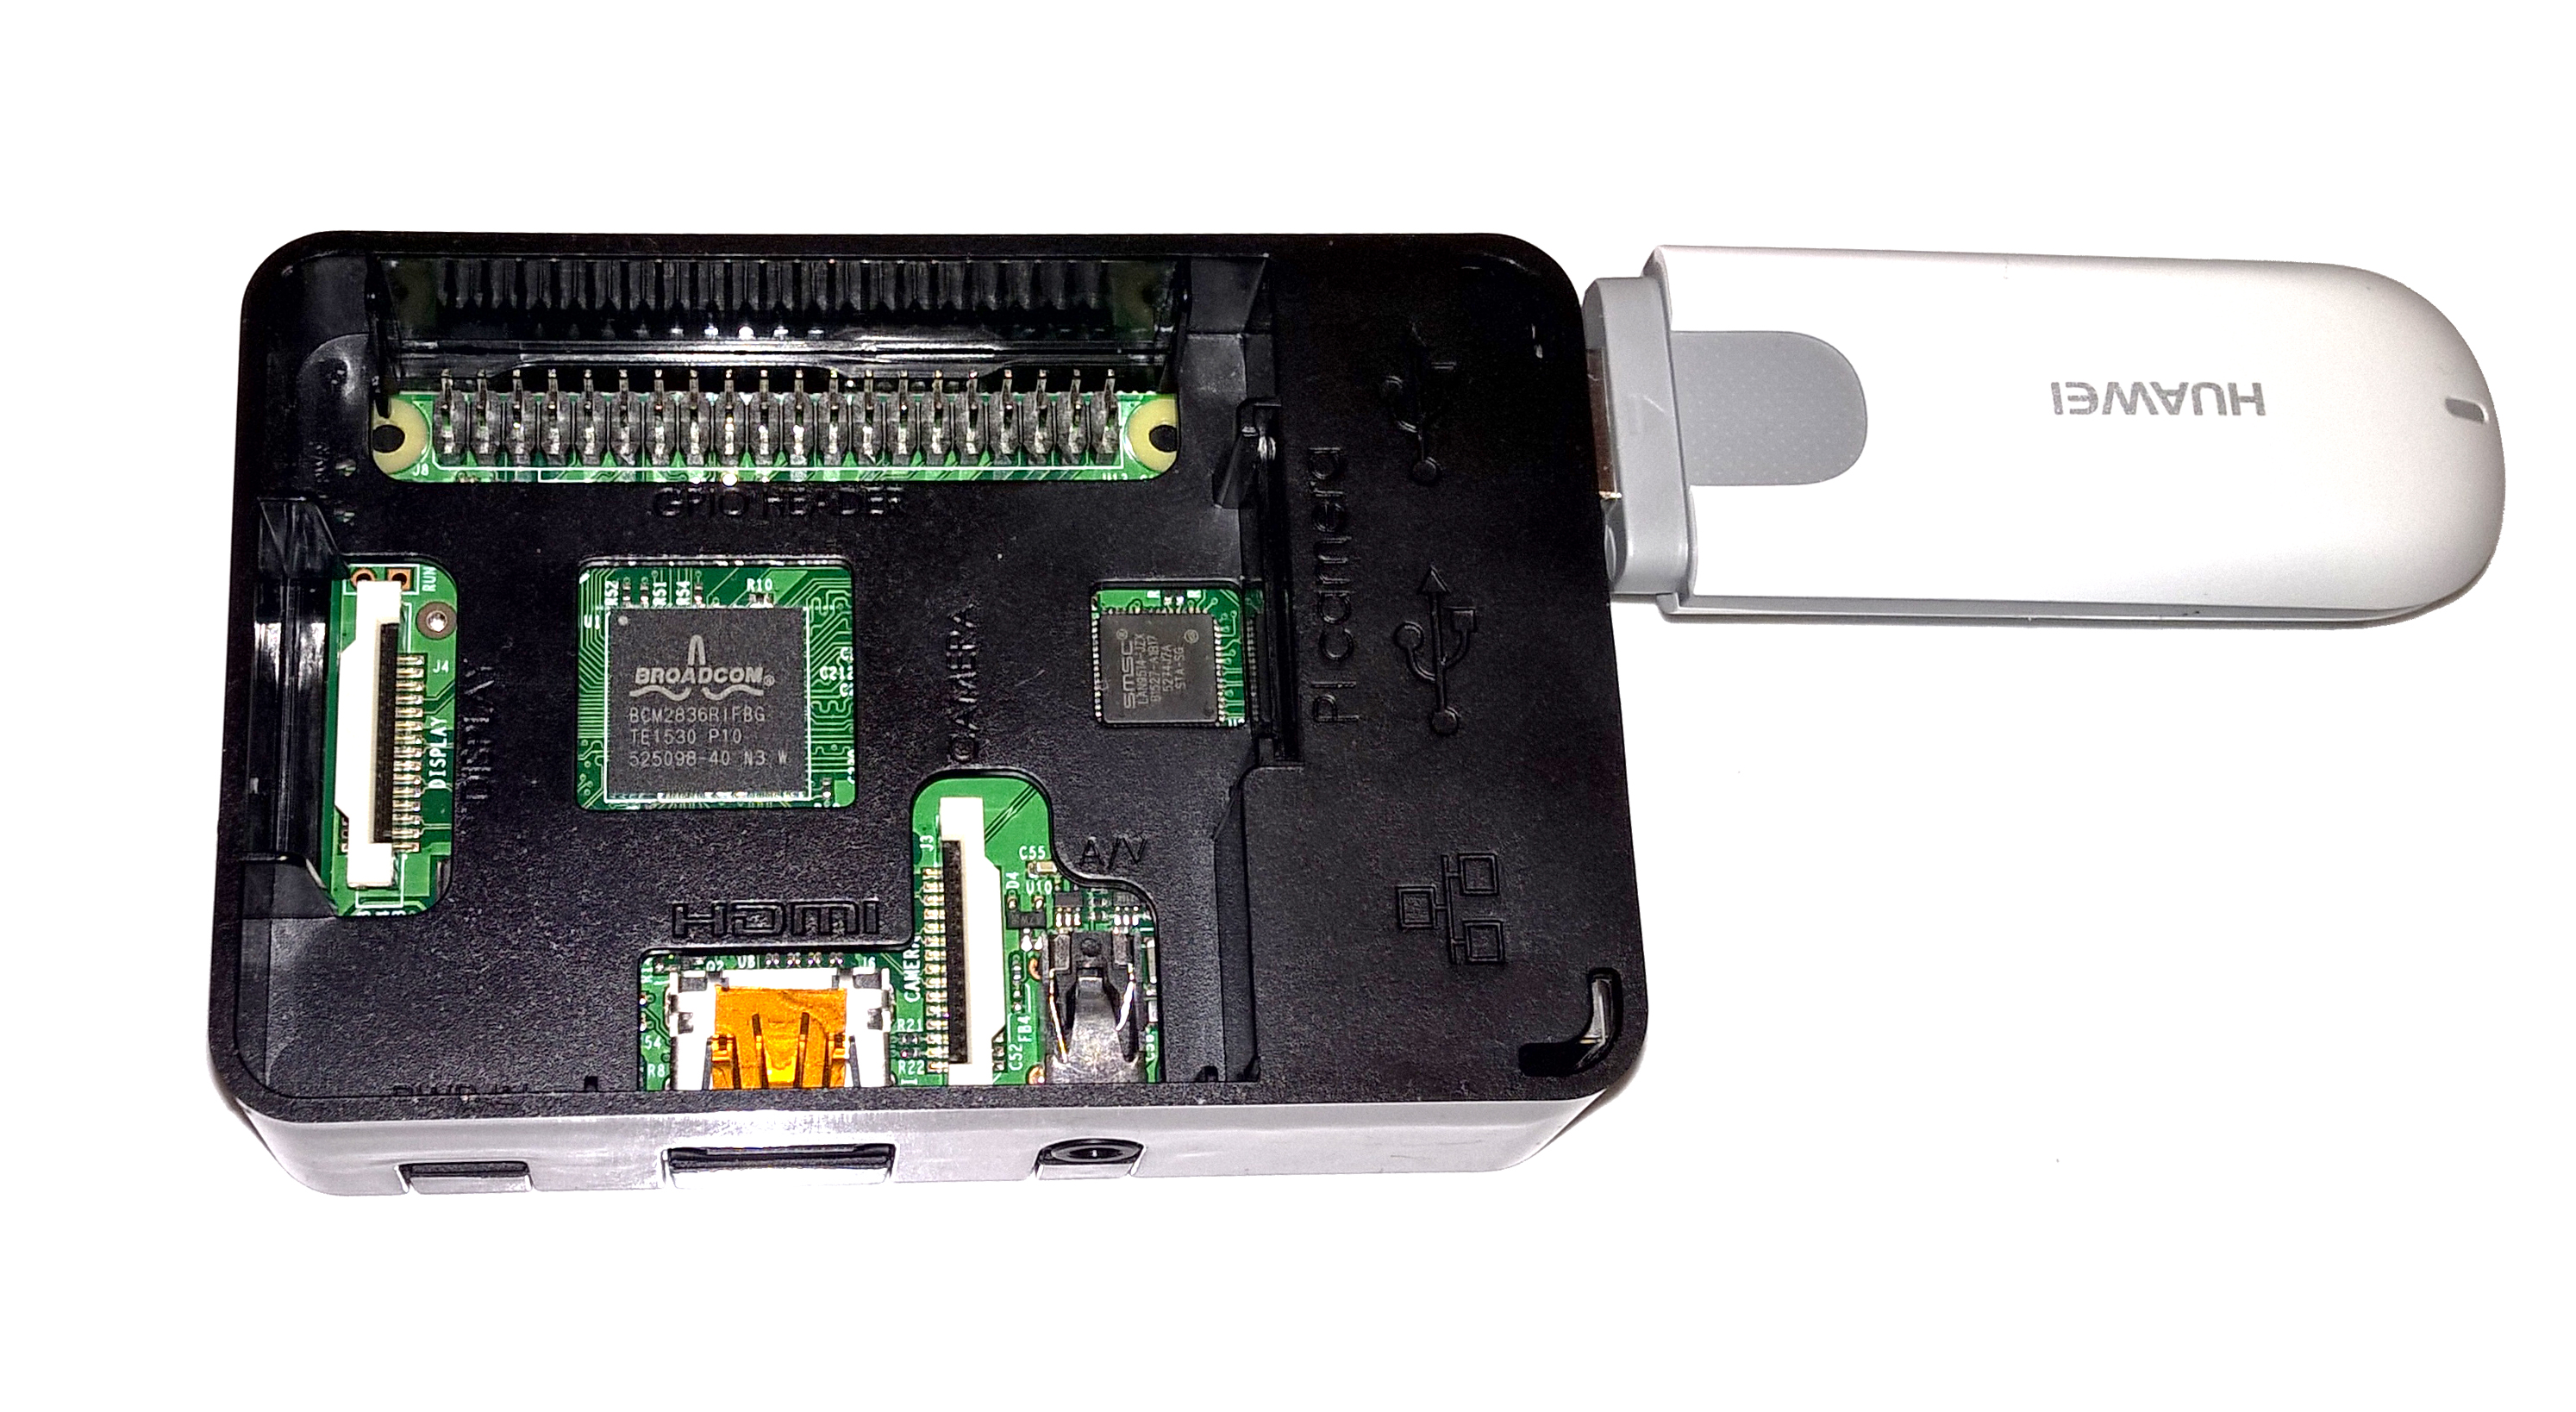
 For this guide I’ll be showing how I got my Huawei E303 Mobile Dongle to with with Gammu on the Raspberry Pi to send and receive SMS messages. This is the specific Huawei E303 I used.
When I first started out, I was hoping it would just a be a case of plugging in the modem, running Gammu and all would be well but things are never that easy! The main hurdle is that the Mobile Dongle, as with many others has different modes which it can function in. The Huawei E303 has 3 different modes of function, these are in the table listed below. The problem is that by default the device is in the USB Mass Storage Mode, not very useful if we wan’t to used it for 3G Internet or in Modem mode to send SMS Messages!
Luckily there is a tool out there called USB_ModeSwitch to help us greatly. It is described as: “A mode switching tool for controlling ‘multi-mode’ USB devices.”
With the following details: ‘More and more USB devices (especially high-speed WAN stuff, based on cell phone chipsets which are able to change their USB connection mode) have their MS Windows drivers onboard; when plugged in for the first time they act like a flash storage and start installing the driver from there. After installation (and on every consecutive plugging) the driver switches the mode internally, the storage device vanishes (in most cases), and a new device (like an USB modem) shows up. Modem maker “Option” calls that feature “ZeroCD (TM)” since it eliminates the need for shipping a separate driver carrier.’
By running the following command to view USB devices we can see what mode our device is in:
lsusb
It should yield something like the following for a Raspberry Pi
Bus 001 Device 005: ID 12d1:1f01 Huawei Technologies Co., Ltd.
Bus 001 Device 004: ID 148f:5372 Ralink Technology, Corp. RT5372 Wireless Adapter
Bus 001 Device 003: ID 0424:ec00 Standard Microsystems Corp. SMSC9512/9514 Fast Ethernet Adapter
Bus 001 Device 002: ID 0424:9514 Standard Microsystems Corp.
Bus 001 Device 001: ID 1d6b:0002 Linux Foundation 2.0 root hub
Make a note of the ID of your Modem, in my case the ID is: 12d1:1f01.
We can now install USB_ModeSwitch with the following command (note it is a ‘-‘ rather than a ‘_’):
sudo apt-get install usb-modeswitch
After installing, reboot your device.
sudo reboot
If you now run the lsusb command again, your device mode should have switched. usb_modeswitch will, by default put your device into the 3G Mobile Internet mode. For me, the result is below. Notice how the ID has changed from 12d1:1f01 to 12d1:14dc.
Bus 001 Device 006: ID 12d1:14dc Huawei Technologies Co., Ltd.
If you just intend to use your modem for Internet, then you are done! Running ifconfig while in this mode for me reveals a new ethernet adapter.
| ID | lsusb name | mode |
|---|---|---|
| 12d1:1f01 | Huawei Technologies Co., Ltd. | USB Mass Storage |
| 12d1:14dc | Huawei Technologies Co., Ltd. | 3G Internet |
| 12d1:1001 | Huawei Technologies Co., Ltd. E169/E620/E800 HSDPA Modem | Modem |
SMS/Modem Mode:
Continue with the rest of this guide if you want to put the device into Modem mode so you can use it to send SMS messages. This is where things get a little trickier because we have to do a lot more manually.
There is a configuration file for each adapter that usb_modeswitch creates which is placed inside a compressed folder. We need to extract the configuration file for our modem so we can edit it, to put it in a different mode.
Using the original ID we made a note of at the very start, run the following command, putting your ID at the end so that we can extract the file.
sudo tar -xzvf /usr/share/usb_modeswitch/configPack.tar.gz 12d1:1f01
Some other tutorial recommend formatting the file name as 12d1\:1f01 if you are having issues.
Opening the extracted file gave me the following:
sudo nano /usr/share/usb_modeswitch/12d1:1f01
# Huawei E353 (3.se) and others
TargetVendor=0x12d1
TargetProductList="14db,14dc"
HuaweiNewMode=1
NoDriverLoading=1
With the file open in the editor of your choice (or by running the nano command above) we now want to edit the file.
Now this is the part that will be pretty different for different types of modems, by searching around I was able to find from this post here http://askubuntu.com/questions/489936/huawei-e3531-view-signal-strength of what to change the contents of the file to. From what I’ve seen, if you search around your specific model or similar ones, you should be able to find what you need to paste into the file.
I completely replaced the contents of the file with the following:
# Huawei E3531s-2 - switch to modem mode instead of HiLink CDC-Ether mode
TargetVendor=0x12d1
TargetProduct=0x1f01

# switch to 12d1:1001 (modem mode, 3 virtual serial ports)
MessageContent="55534243123456780000000000000011062000000100000000000000000000"
After changing the contents of the file, reboot your device.
sudo reboot
After rebooting your device and running the lsusb command, your device should now be in Modem mode:
Bus 001 Device 006: ID 12d1:1001 Huawei Technologies Co., Ltd. E169/E620/E800 HSDPA Modem
Gammu:
Once you’ve got to this stage, getting Gammu running is pretty easy. There are tons of great tutorials for getting Gammu working, here is the one I used: http://www.mattiasnorell.com/send-sms-from-a-raspberry-pi/
Leave a Reply