This article will show you how to connect directly to a Raspberry Pi by connecting an ethernet cable directly to your PC without needing to do any setup on the Raspberry Pi itself. This means you don’t need to plug a keyboard and monitor into your Pi to connect to it.
Requirements:
- PC with ethernet port (or USB ethernet adapter)
- Ethernet cable
- Raspberry Pi
- tftpd64 (DHCP Software https://pjo2.github.io/tftpd64/)
It’s quite simple to get your PC and Pi talking to each other over ethernet, the main requirement is a DHCP server. (A DHCP Server is a network server that automatically provides and assigns IP addresses, default gateways and other network parameters to client devices). Without a DHCP server, the Pi won’t know what IP Address to use.
Step 1: Physical Connections
Plug your Raspberry Pi into your PC with the Ethernet cable. Connect either directly to your built in Ethernet port or via your USB Ethernet adapter.
Step 2: PC Network Setup
So we’ll need to configure our static settings on the PC side to begin with.
Start by opening up the Network Connections window:
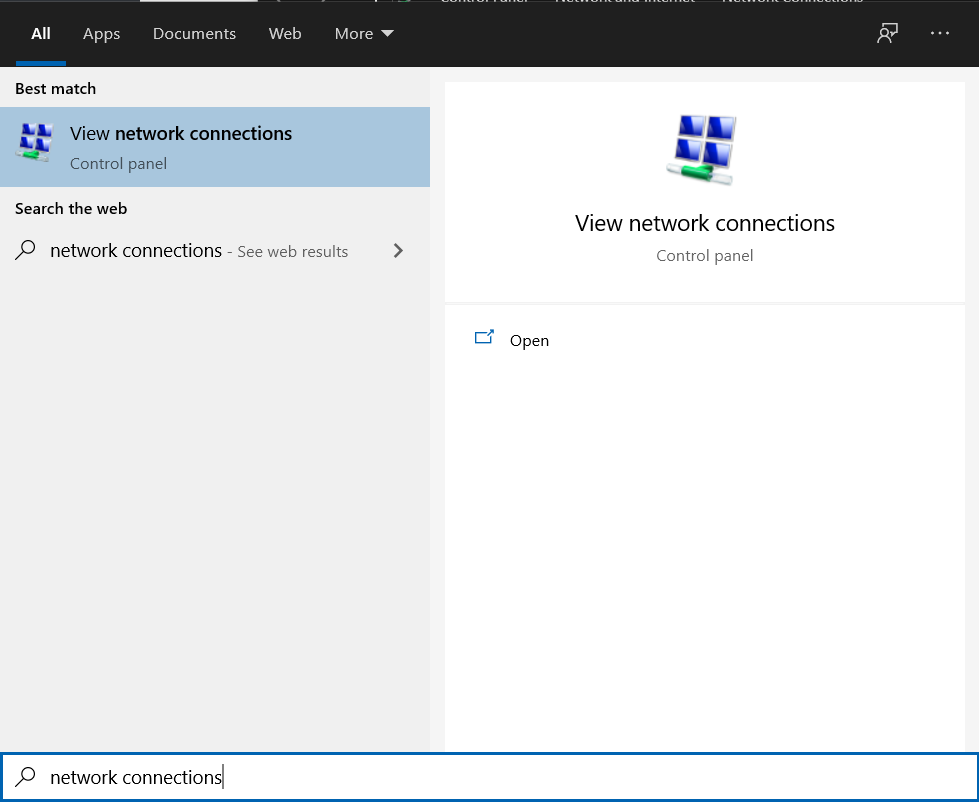
You should see all your network devices available. In my case I’ve got a few. Since I’m using a USB Ethernet adapter, I will be using that one (Ethernet 5).

Right click on the network device you’ve got connection to your Pi and go to Properties.

Click on the “Internet Protocol Version 4 (TCP/IPv4)” and then hit “Properties”

We’ll want to fill in our IP and Subnet Mask manually so that it’s static and never changes.
The IP Address chosen should not conflict with any other connections on the PC.
In my case I’ve chosen for the IP Address: 192.168.111.1 and the Subnet Mask: 255.255.255.0
Once entered, hit OK.

Step 3: DHCP Server Setup
Our local PC is now setup. You can prove it’s working by pinging itself via command line “ping 192.168.111.1” and you should get a response from yourself.
The next step is to run the DHCP Server so that we can assign the Raspberry Pi a valid IP address and then connect to it.
Download TFTPD64: https://pjo2.github.io/tftpd64/ (Tftpd64 is a free, lightweight, opensource IPv6 ready application which includes DHCP, TFTP, DNS, SNTP and Syslog servers as well as a TFTP client)
I went for the .zip file without any installer so we can just directly run the exe:

Once downloaded, unzip and run tftpd64.exe.
Hit settings at the bottom

Under the GLOBAL tab, disable everything except DHCP Server.

Fill out the DHCP settings similar to below.
I’ve got it setup so the IP pool starts at 192.168.111.10 and there are 10 addresses available.
For the “Def. router (Opt 3)” enter the PC IP address you chose earlier.

Hit OK when complete.
After I hit OK, I waited a few moments until the Pi was automatically assigned an IP address:

The IP address you see here is now the IP of the Pi! So you can connect to it via SSH or however you want just as you would normally!
Leave a Reply